

Key Takeaways
- Identifying whether moisture enters through hydrostatic pressure, wall cracks, or condensation determines the right solution.
- Interior waterproofing manages water after it enters; exterior waterproofing stops it at the source.
- Drainage systems and sump pumps are often used alongside other methods for comprehensive protection.
- Permits and professional assessments are typically required for exterior excavation and structural work.
- No single method works universally - most effective solutions combine two or more approaches.
Our Verdict
Both interior and exterior waterproofing have legitimate roles depending on your basement's moisture source, budget, and long-term goals. Exterior waterproofing provides the most thorough protection but involves the highest cost and disruption, while interior systems offer practical water management at a lower price point. A professional assessment is the most reliable way to match the right method to your specific situation.
| Best for | Recommended |
|---|---|
| Homeowners with persistent hydrostatic pressure and budget for a lasting fix | Exterior waterproofing with drainage board |
| Those working within strict time or cost constraints | Interior drainage system with sump pump |
| Basements with minor seepage through isolated cracks | Interior crack injection and waterproofing paint |
| Homes with condensation rather than true water intrusion | Vapor barrier and dehumidification |
Why Basements Get Wet - and Why It Matters
Water in a basement can originate from several distinct sources: groundwater pushed inward by hydrostatic pressure, surface runoff that follows the foundation wall downward, cracks in concrete or block that allow seepage, and condensation forming when warm humid air meets cool basement walls. Correctly diagnosing the source is not optional - applying the wrong solution wastes money and may leave the core problem unresolved.
A simple tape test helps distinguish condensation from seepage: tape a piece of plastic sheeting to the wall, seal all edges, and leave it for 24-48 hours. Moisture on the room-facing side points to condensation; moisture on the wall-facing side indicates water migrating through the masonry.
Do the Tape Test First
Before spending on any waterproofing system, confirm whether your moisture problem is condensation or true seepage. Tape a sheet of plastic to the interior wall for 48 hours with all edges sealed. Moisture on the plastic's room-facing surface indicates condensation, which is addressed with improved ventilation or a dehumidifier - not an interior drainage system. This simple test can save considerable time and expense.
Ignoring a wet basement carries real structural and health risks. Prolonged moisture weakens mortar joints, promotes mold growth, and can compromise a home's foundational integrity over time.
Exterior Waterproofing: Stopping Water at the Source
Exterior waterproofing addresses moisture before it ever contacts the interior wall. The process typically involves excavating soil around the foundation down to the footing, applying a waterproof membrane or coating to the exterior wall surface, installing a drainage board to channel water away, and laying a perforated drain pipe (French drain) at the footing level that directs water to a storm drain or daylight outlet.
This approach is generally considered the most comprehensive solution for chronic water intrusion caused by hydrostatic pressure. However, it is also the most disruptive and costly method. Excavation around an entire foundation requires heavy equipment, may affect landscaping, decks, or walkways, and almost always requires a permit. Always verify local permitting requirements with your municipality before beginning any excavation project.
Exterior Excavation Carries Real Risks
Digging near a foundation can destabilize soil and temporarily increase pressure on walls if not properly managed. Always contact 811 (the national call-before-you-dig service) before any excavation to locate buried utility lines. Most jurisdictions require permits for excavation work near foundations - skipping this step can create liability issues and complicate future home sales.
Interior Waterproofing: Managing Water That Gets In
Interior waterproofing does not prevent water from entering the wall assembly - instead, it intercepts and redirects it before it can pool on the floor or damage finishes. Common interior methods include:
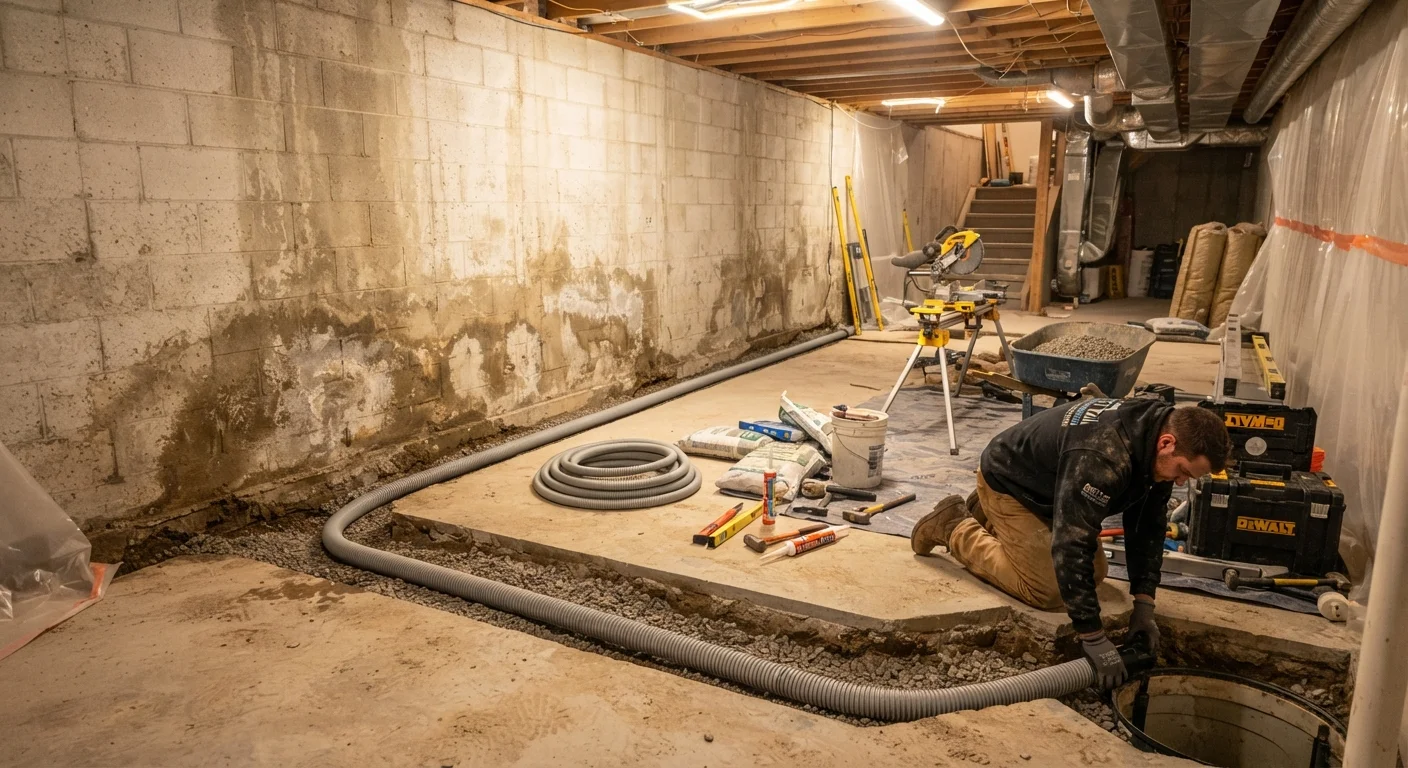
- Interior drainage channels: A perimeter trench is cut along the basement floor, a drain tile system is installed, and the trench is covered with new concrete. Water that seeps through walls drains into the channel and flows to a sump pit.
- Sump pump systems: A sump pit collects redirected water, and a pump automatically discharges it away from the foundation. Battery backup units maintain function during power outages - an important consideration during storms when flooding risk peaks.
- Crack injection: Polyurethane or epoxy is injected into structural cracks to seal them. This works well for isolated seepage points but is not a whole-wall solution.
- Waterproofing paints and sealers: Crystalline or elastomeric coatings applied to interior masonry can reduce minor seepage but are not effective against significant hydrostatic pressure.
Comparing the Main Approaches
Each method carries different trade-offs across cost, disruption, and effectiveness. The table below summarizes how the primary approaches compare across key criteria.
| Exterior Waterproofing | Interior Drainage System | Crack Injection | Waterproofing Coatings | |
|---|---|---|---|---|
| Moisture source addressed | Stops water before entry | Manages water after entry | Seals specific entry points | Slows minor vapor seepage |
| Relative cost | Highest | Moderate to high | Low to moderate | Low |
| Disruption level | Major - full excavation | Moderate - floor trenching | Minimal | Minimal |
| Effectiveness vs. hydrostatic pressure | Very high | High (manages, not stops) | Low - localized only | Low |
| Permit typically required | Yes | Often yes | Usually no | No |
| DIY feasibility | Not recommended | Not recommended | Possible for minor cracks | Yes |
In practice, many waterproofing professionals recommend combining methods - for example, pairing an interior drainage system with exterior grading corrections - to address both the symptom and the source simultaneously.
Vapor Barriers and Drainage: The Supporting Layer
Even when a primary waterproofing system is installed, vapor barriers play a supporting role. A thick polyethylene sheet (typically 6-20 mil) installed across the floor and partway up the walls reduces moisture vapor transmission significantly, protecting subfloor materials and stored belongings. This is especially relevant in crawl spaces that connect to a basement.
Proper exterior grading - sloping soil away from the foundation at least six inches over ten horizontal feet - is one of the most cost-effective preventive measures available and should be evaluated before investing in more complex systems. Clogged or improperly pitched gutters and downspouts that discharge near the foundation are also frequent culprits worth correcting first.
When to Call a Professional
DIY options are reasonable for minor issues like crack injection on hairline fractures, applying waterproofing paint to a wall with light efflorescence (white mineral deposits indicating past moisture movement), or improving grading and gutter drainage. Larger interventions - full interior drainage installation, any exterior excavation, or structural crack repair - involve work that is safer, more reliable, and often legally required to be performed by licensed contractors.
When hiring a waterproofing contractor, ask for a written assessment that identifies the moisture source, a clear explanation of which methods are being proposed and why, references from similar projects, and documentation of any permits they will pull on your behalf. Reputable contractors will diagnose before they sell, not the other way around.