

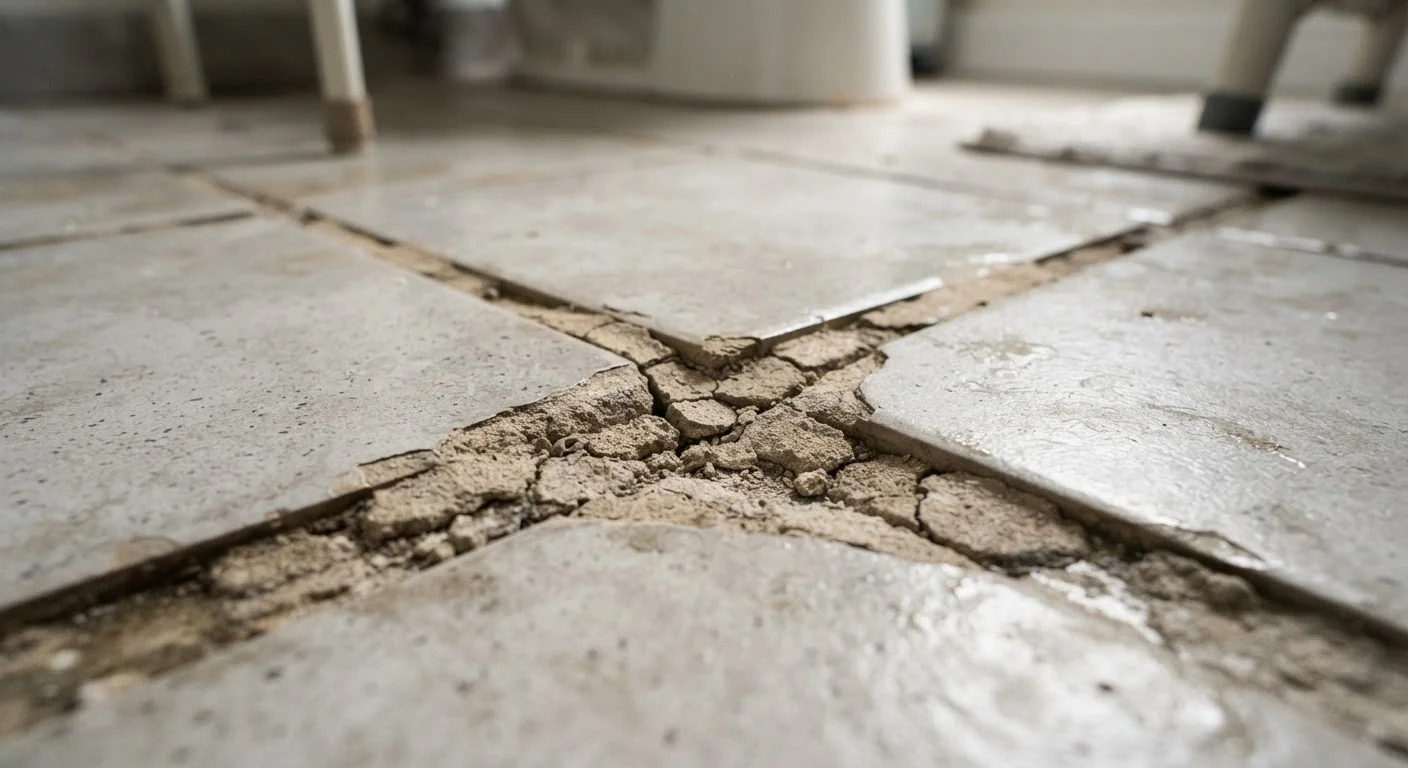
Key Takeaways
- Cracked grout is usually a symptom of a deeper structural or installation issue, not just normal wear.
- Regrouting over existing damage without fixing the root cause will produce the same failure again.
- Movement joints and proper substrate preparation are essential for a lasting grout repair.
- Sanded and unsanded grouts have specific applications - using the wrong type leads to premature cracking.
- Epoxy grout offers superior durability in high-traffic or wet areas where standard grout frequently fails.
Why Grout Keeps Failing - The Real Causes
Grout lines crack for a reason, and that reason is almost never simply age or cheap materials. The tile assembly - grout, tile, adhesive, and substrate - is a system. When any layer of that system moves, flexes, or was installed incorrectly, the grout line is typically the first place the stress becomes visible.
The most common structural culprits include a substrate that flexes underfoot, missing or incorrectly placed movement joints, and thermal expansion in large tile runs. In wet areas like showers and kitchen backsplashes, water infiltration through unsealed or poorly bonded grout accelerates the breakdown of the bond coat underneath, causing tiles to loosen and grout to crumble at the edges.
Understanding which of these forces is at work in your specific situation is the essential first step. A repair that skips this diagnostic step will fail again - often faster than the original installation.
Address Movement Before You Regrout
If the underlying tile or substrate flexes when you press on it, no grout repair will hold long-term. Regrouting a moving surface is one of the most common - and costly - mistakes homeowners make. Identify and eliminate the source of movement before touching the grout lines.
Mistakes That Make Grout Repairs Fail
Most unsuccessful grout repairs share a predictable set of errors. Each one is avoidable once you know what to look for.
Skipping substrate assessment before regrouting.
Why it happens: The grout line is visible and the substrate beneath it is not, so homeowners naturally focus on what they can see and reach.
Using the wrong grout type for the joint width.
Why it happens: Most homeowners assume all grout is interchangeable and grab whatever is available at the hardware store.
Ignoring the need for movement joints at changes in plane or large tile runs.
Why it happens: Movement joints (sometimes called expansion joints) look like caulk lines and are often mistaken for simple gaps or poor workmanship to be filled with grout.
Mixing grout too wet or applying it to dry tiles.
Why it happens: A looser mix feels easier to spread, and dry tiles seem like a clean surface, but both conditions compromise the final cure.
Sealing grout before it has fully cured.
Why it happens: Homeowners are eager to finish the project and assume grout is ready once it looks dry to the touch.
Don't Grout Over Old Grout
Applying fresh grout over existing cracked grout creates a weak bond that will separate within months. The old material must be fully removed with a grout saw or oscillating tool before new grout is applied. Cutting corners here guarantees the repair fails prematurely.
Beyond these core mistakes, one additional factor consistently shortens grout life: inadequate cleaning before grouting. Any dust, tile spacer residue, or adhesive smeared into the joint prevents proper bonding. Use a vacuum and a slightly damp sponge to clean joints completely before beginning the grout application.
Choosing the Right Repair Approach
Once the root cause is corrected, you have several material options depending on the location and severity of the damage.
- Standard cement-based grout is appropriate for most interior floor and wall tile where movement has been properly addressed and movement joints are in place.
- Epoxy grout is harder, more stain-resistant, and nearly impervious to moisture - making it well-suited for high-traffic floors, showers, and countertops. It has a shorter working time and requires careful mixing, but the durability payoff is significant.
- Flexible silicone or urethane caulk (color-matched to the grout) is the correct material for all perimeter joints, inside corners, and any joint at a change in plane. These areas must never be filled with rigid grout.
72 hrs
Minimum cure time before sealing cement grout
Most grout manufacturers specify a minimum 72-hour cure window in their product data sheets before sealant application.
1/8"
Joint width threshold between sanded and unsanded grout
The Tile Council of North America guidelines use 1/8-inch joint width as the standard dividing line between sanded and unsanded grout applications.
Whichever material you choose, full removal of existing grout - down to the tile edges - is non-negotiable for a bond that holds. A grout saw or an oscillating multi-tool with a grout removal blade makes this work manageable without risking tile damage.