

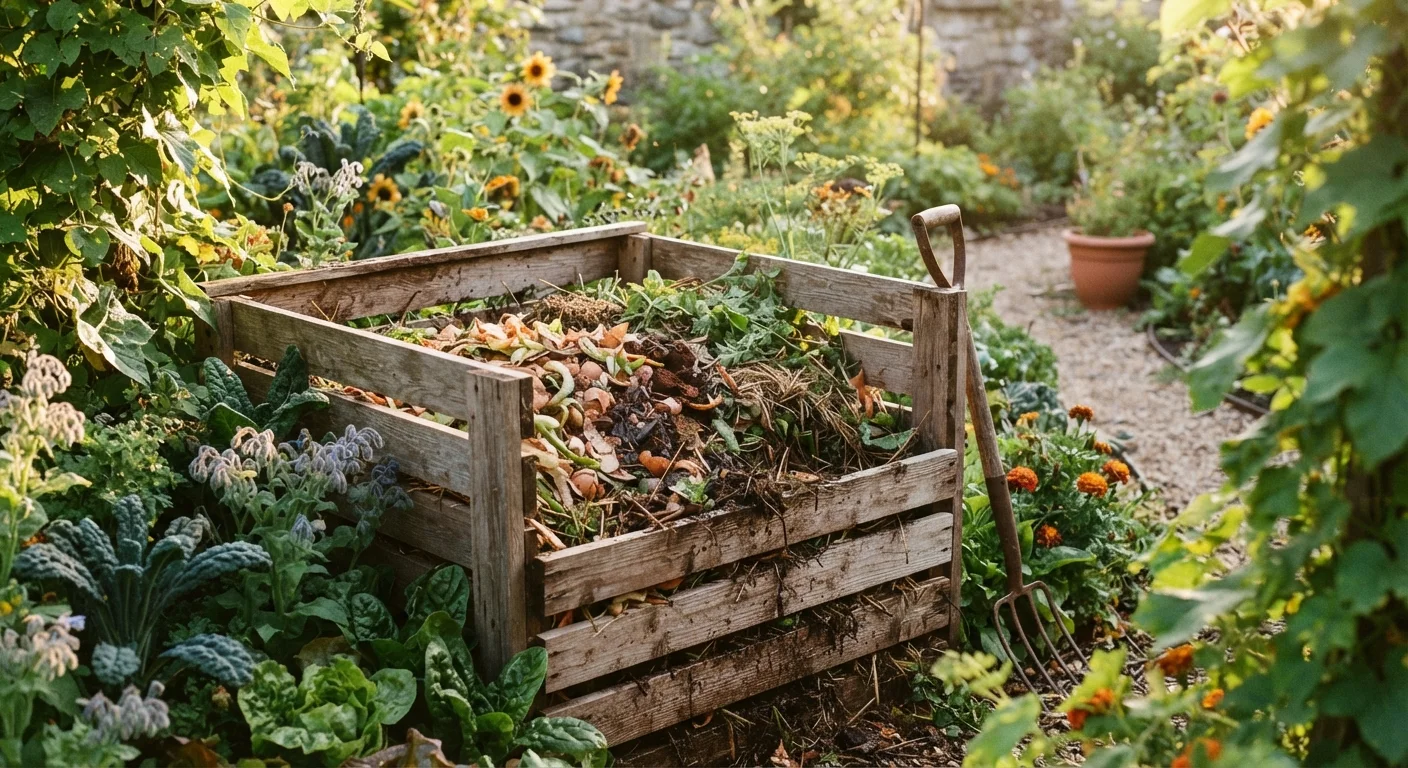
Key Takeaways
- Compost requires a balance of carbon-rich 'browns' and nitrogen-rich 'greens' to decompose effectively.
- Most kitchen scraps - fruit peels, coffee grounds, vegetable trimmings - are compostable; meat and dairy are not.
- Finished compost typically takes two to six months depending on conditions and how actively you manage the pile.
- Turning your pile regularly and maintaining moisture speeds decomposition significantly.
- Finished compost can be worked into garden beds, used as mulch, or brewed into a liquid fertilizer.
What you will need
Why Composting Is Worth the Effort
Composting is one of the most impactful - and low-cost - practices a homeowner can adopt. It diverts organic waste from landfills, where it would otherwise produce methane, and returns it to the soil as a rich amendment that improves structure, feeds beneficial microbes, and reduces the need for synthetic fertilizers. As our soil health guide explains, the biological life in your soil matters more than almost any product you can add to it - and compost is one of the best ways to support that ecosystem.
Unlike bagged amendments, finished compost is tailored to your local conditions: it contains microorganisms already adapted to your region's climate and reflects the organic inputs available where you live. It's also genuinely free once the system is in place. The learning curve is shallow, and the payoff - in plant health, reduced waste, and garden resilience - is significant.
What you will need
Compost Bin or Tumbler
Contains the compost pile, retains heat and moisture, and keeps pests out.
Garden Fork or Compost Aerator
Used to turn and aerate the pile, which accelerates decomposition.
Indoor Kitchen Scrap Container
Collects daily food scraps conveniently before transfer to the outdoor bin.
Garden Hose or Watering Can
Used to moisten the pile when it dries out.
Compost Thermometer
Measures internal pile temperature to confirm active decomposition is occurring.
What to Add - and What to Avoid
Knowing what belongs in your pile is the single most important factor in getting composting right. The following overview will help you sort your waste confidently.
Good to Compost
- Fruit and vegetable scraps (including citrus, in moderation)
- Coffee grounds and paper filters; loose-leaf tea and most tea bags
- Eggshells (they break down slowly but add calcium)
- Dry leaves, straw, and untreated wood chips
- Grass clippings (thin layers only - they mat when thick)
- Shredded newspaper and plain cardboard
- Hair, nail clippings, and natural-fiber materials (cotton, wool)
Do Not Compost
- Meat, fish, bones, and dairy products
- Oily or heavily salted foods
- Pet waste (dog or cat feces carry pathogens)
- Diseased or pest-infested plant material
- Invasive weeds that have gone to seed
- Anything treated with pesticides or herbicides
Never Compost Meat, Dairy, or Diseased Plants
Adding meat scraps, dairy products, oily foods, or plant material infected with disease can attract pests and introduce pathogens into your finished compost. These materials can also create persistent odor problems. Stick strictly to plant-based kitchen waste and untreated yard material to keep your pile healthy and neighbor-friendly.
Avoid Treated or Printed Materials
Do not add wood ash from treated lumber, heavily printed cardboard, or yard clippings treated with pesticides or herbicides. These can introduce harmful residues into compost that may then move into your soil and plants. When in doubt, leave it out.
Troubleshooting Common Compost Problems
Even a well-set-up pile can run into issues. Here's how to read the symptoms and correct course:
| Problem | Likely Cause | Fix |
|---|---|---|
| Ammonia smell | Too many greens | Add browns; turn the pile |
| Rotten egg smell | Pile too wet, no air | Turn to aerate; add dry browns |
| Pile not heating up | Too dry, too small, or too many browns | Add water or greens; turn to mix |
| Pests attracted | Food scraps exposed or meat added | Bury scraps; switch to a lidded bin |
Most problems resolve quickly once you rebalance the green-to-brown ratio or restore adequate moisture. If you're seeing persistent stalling, the garden myths article is worth a read - it addresses some common misconceptions about organic soil practices that can apply to composting as well.
Speed Things Up With a Compost Activator
If your pile seems to stall, adding a nitrogen boost can restart microbial activity. A shovelful of finished compost, a layer of grass clippings, or a small amount of balanced organic fertilizer can all serve as natural activators. Keep the pile as moist as a wrung-out sponge for the best results.
Choose and Set Up Your Composting System
Select a spot in your yard that receives partial shade, has good drainage, and is reasonably accessible from your kitchen door. A bin, tumbler, or open pile all work - the key is choosing a system you'll actually use consistently. Bins help with tidiness and pest control; tumblers are faster in cooler climates; open piles are free but require more management. Place your system directly on bare soil if possible so beneficial organisms can migrate into the pile.
Collect Kitchen and Yard Scraps
Start gathering your two essential ingredient categories: greens (nitrogen-rich materials) and browns (carbon-rich materials). Greens include fruit and vegetable peels, coffee grounds and filters, tea bags, fresh grass clippings, and plant trimmings. Browns include dry leaves, cardboard torn into small pieces, paper egg cartons, straw, and wood chips. A rough ratio of 3 parts browns to 1 part greens by volume is a widely recommended starting point for balancing the pile.
Build Your First Layers
Begin with a 4-6 inch base layer of coarse browns - wood chips or small twigs work well - to allow airflow from the bottom. Alternate subsequent layers of greens and browns, keeping green layers thinner (2-3 inches) and brown layers thicker (4-6 inches). Lightly moisten each layer as you build. Chop or shred materials into smaller pieces where possible; smaller surface area means faster breakdown.
Turn and Monitor the Pile Regularly
Use a garden fork to turn the entire pile every one to two weeks, moving material from the outer edges toward the center where temperatures are highest. A well-managed pile will heat up noticeably - sometimes to 130-160°F - which speeds decomposition and kills many weed seeds. Check moisture each time you turn: the pile should feel like a damp sponge. Add water if it feels dry; add more browns if it smells like ammonia or feels soggy.
Recognize and Harvest Finished Compost
Finished compost looks dark brown and crumbly, smells earthy (not rotten), and no longer resembles the original materials. This stage typically takes two to six months with active management, or up to a year with a more passive approach. To harvest, stop adding new material and let the pile finish. Screen out any large unfinished pieces and return them to a new pile. What passes through is ready to use.
Apply Compost in Your Garden
Work 1-3 inches of finished compost into the top 6-8 inches of garden bed soil before planting, or use it as a top dressing around established plants. It can also serve as a surface mulch to retain moisture - a complement to the practices described in our guide to mulching garden beds. For a liquid option, steep a cloth bag of compost in water for 24-48 hours to create a compost tea for watering plants.